Step 1
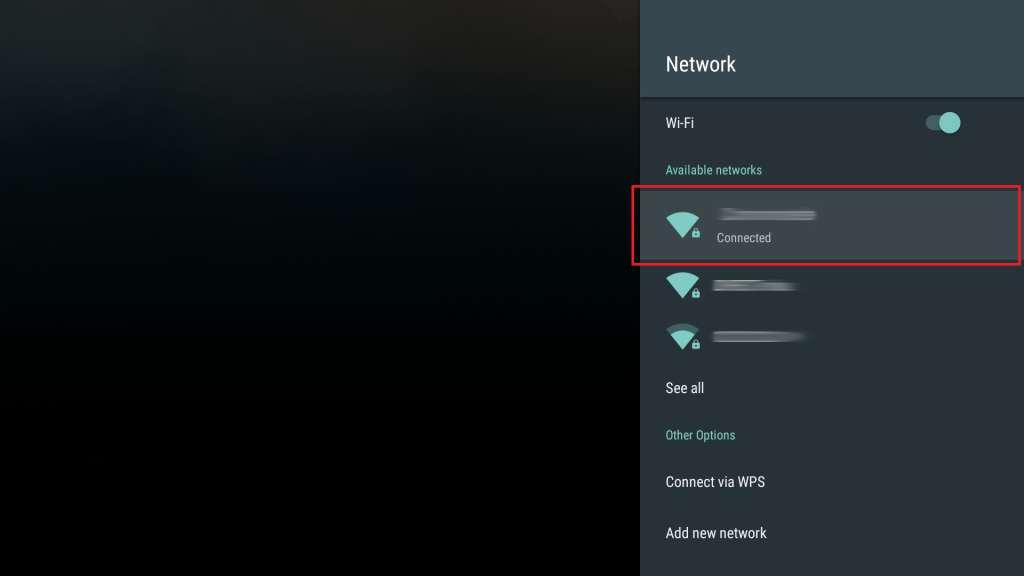
Go to the “Settings” > “Network” and click the connected Wi-Fi network.
Step 2
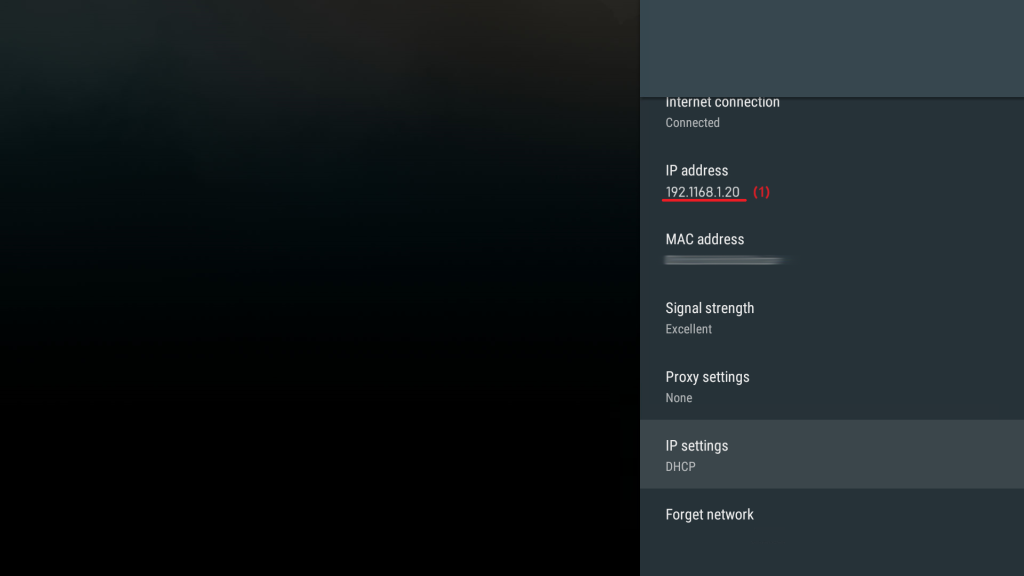
Remember the IP address that you see in the field indicated (1). You will need it in Step 4.
Step 3
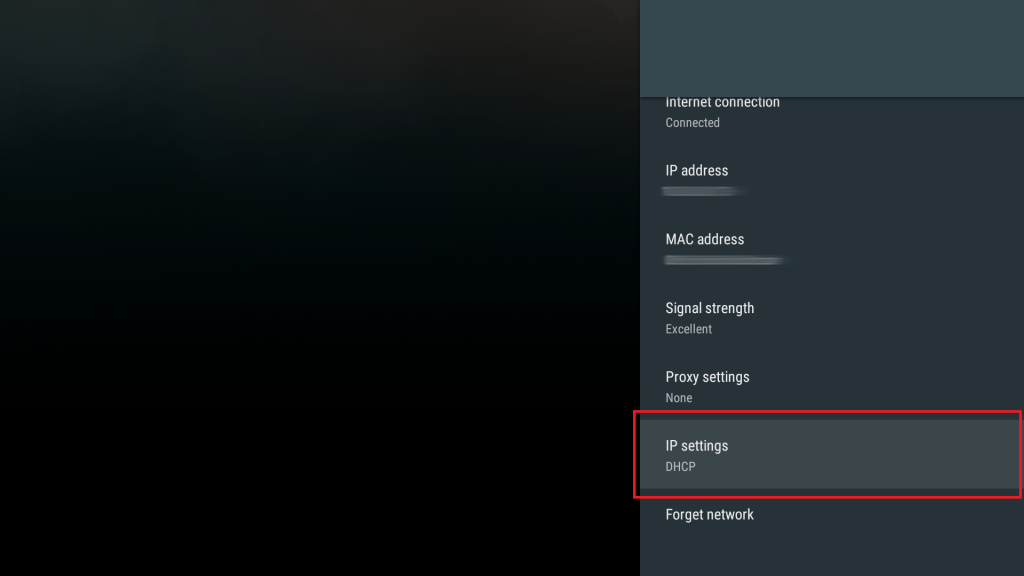
Head to IP settings.
Step 4
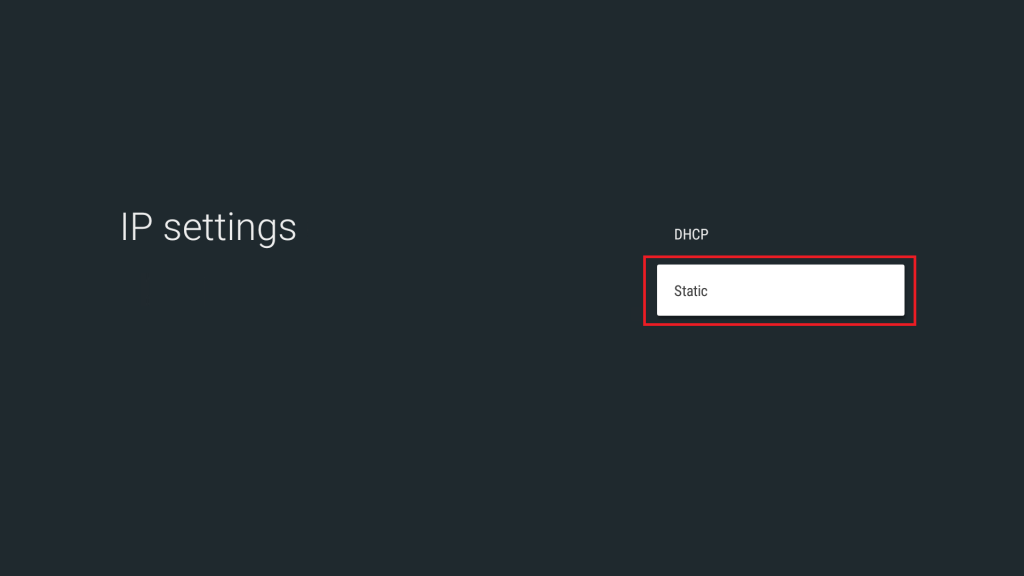
Change IP settings from DHCS to Static.
Step 5
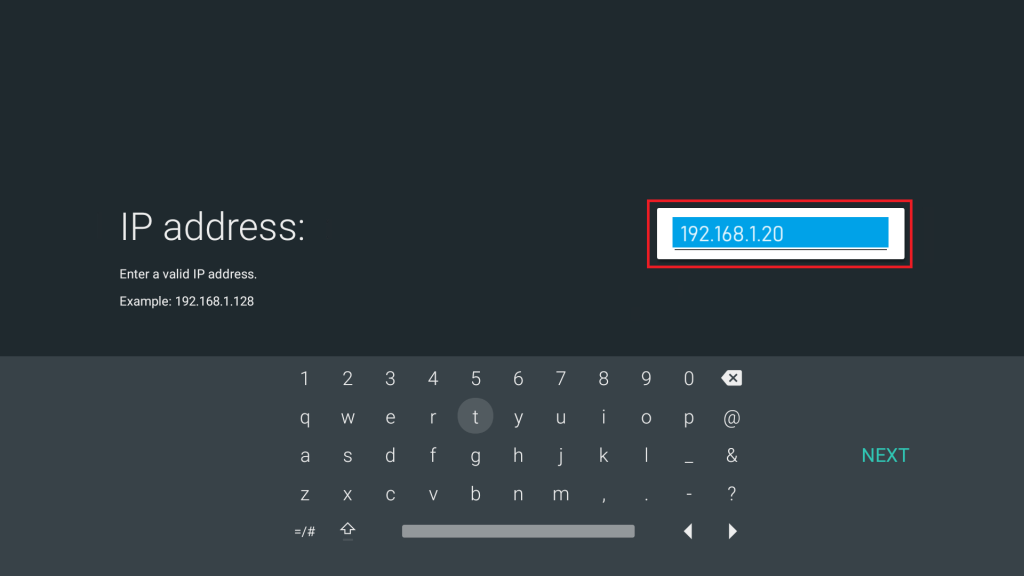
Now you need to enter the first three groups of numbers exactly the same as the IP address of your router.
Enter the IP address you remembered in the Step 2.
Step 6
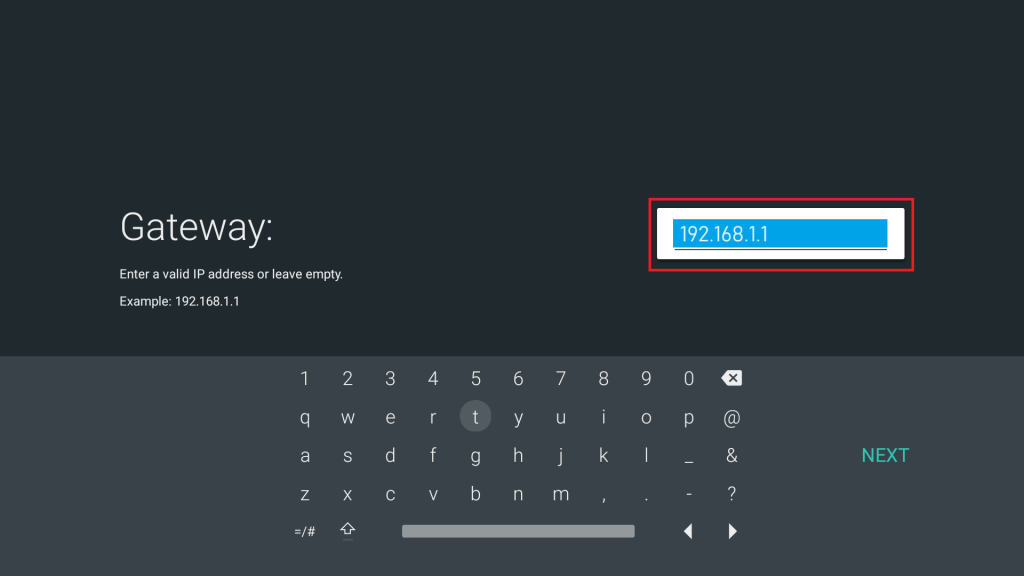
Enter your Gateway. For example, if your IP address was 192.168.1.xx (or 192.168.0.xx), then your Gateway will be 192.168.1.1 (or 192.168.0.1).
Step 7
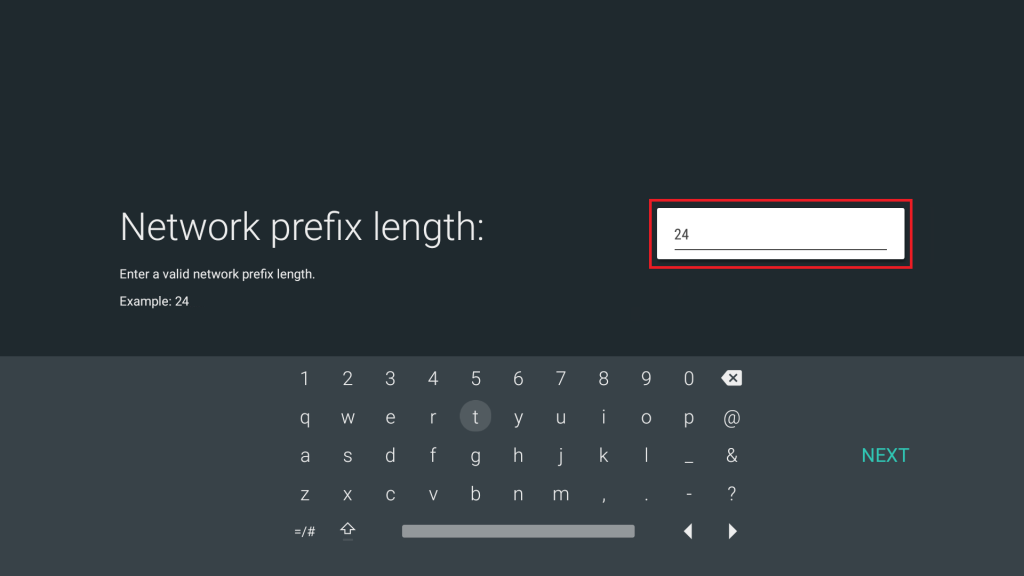
For “Network Prefix Lenght” there can be a few options: enter 24 if the Subnet Mask value you noted in Step 1 was 255.255.255.0, or 32 if the Subnet Mask value was 255.255.255.255.
Step 8
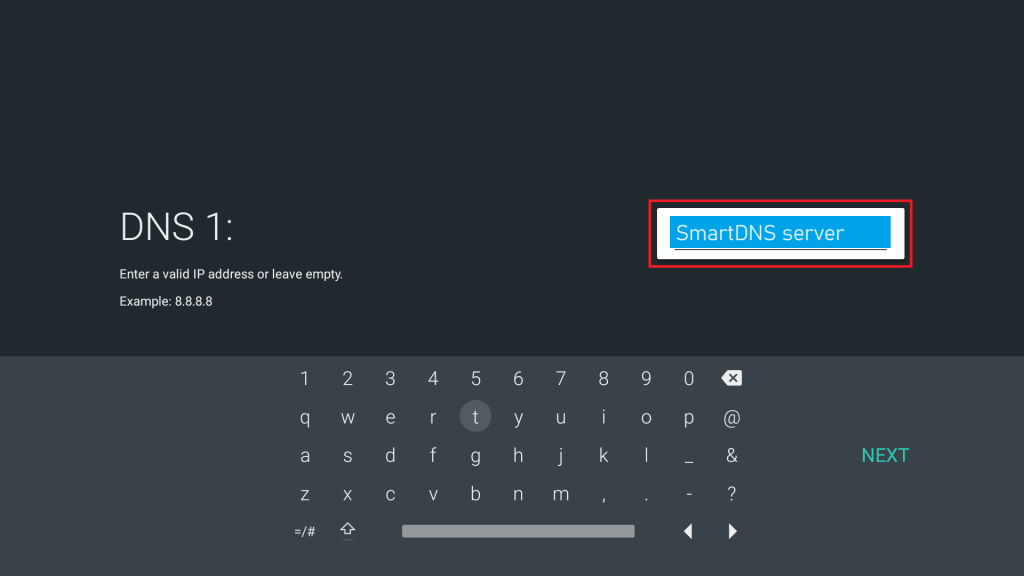
Enter the first IP addresses of our Smart DNS servers (you will find them under the Control Panel on our website) in the DNS1 field:
Step 9
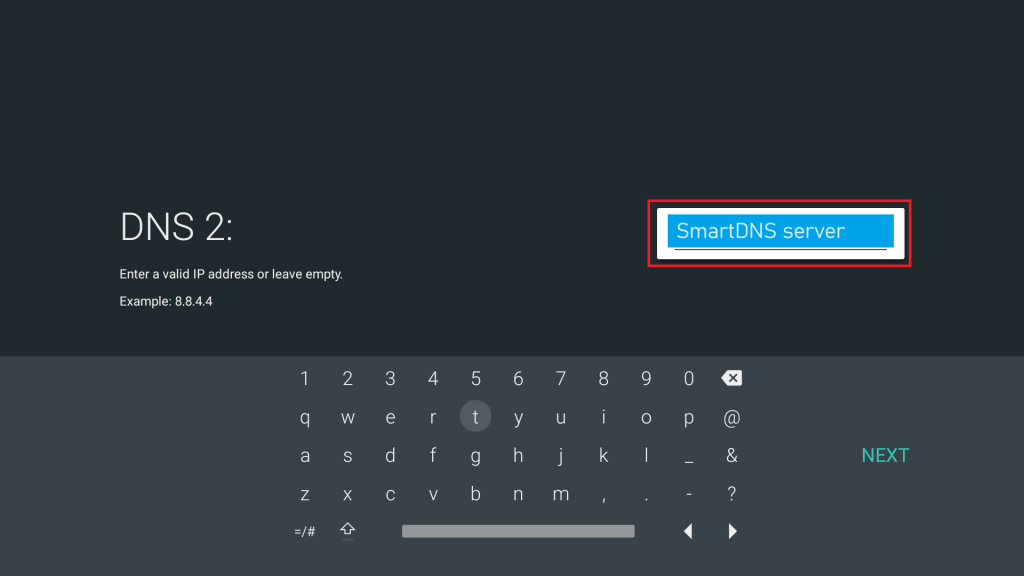
Enter the second IP addresses of our Smart DNS servers in the DNS2 field:
Step 10
Disconnect and Connect again to the network, until it shows as ‘Connected’.
You’re done! Here you will find what sites and media channels are unlocked via SmartDNS.

