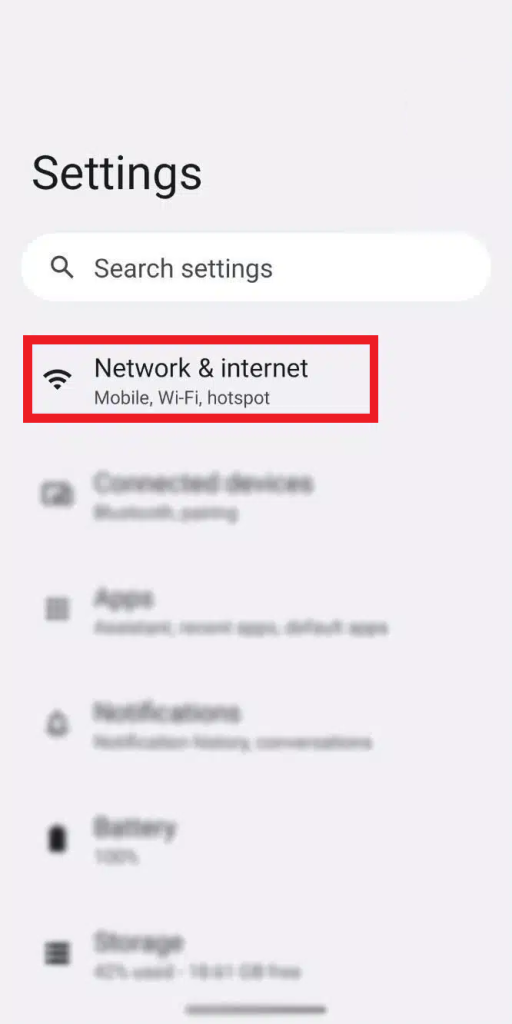
Requirements

To set up the Smart DNS you will need:

  1. 1. A SmartDNS account. If you are not a current subscriber sign up here.
  2. 2. Your DNS addresses. You can find them under the Control panel on our website.

Note:

To unblock streaming services with our SmartDNS service, you have to register your IP address. Check out how to update your IP address under the Control Panel here.


Note:

The installation guide for SmartDNS is identical for both Android tablets and smartphones, with only minor differences.

Step 1

Find Settings and go to “Network & Internet”.

Android SmartDNS setup guide


Step 2

Scroll down and click on “Private DNS”.
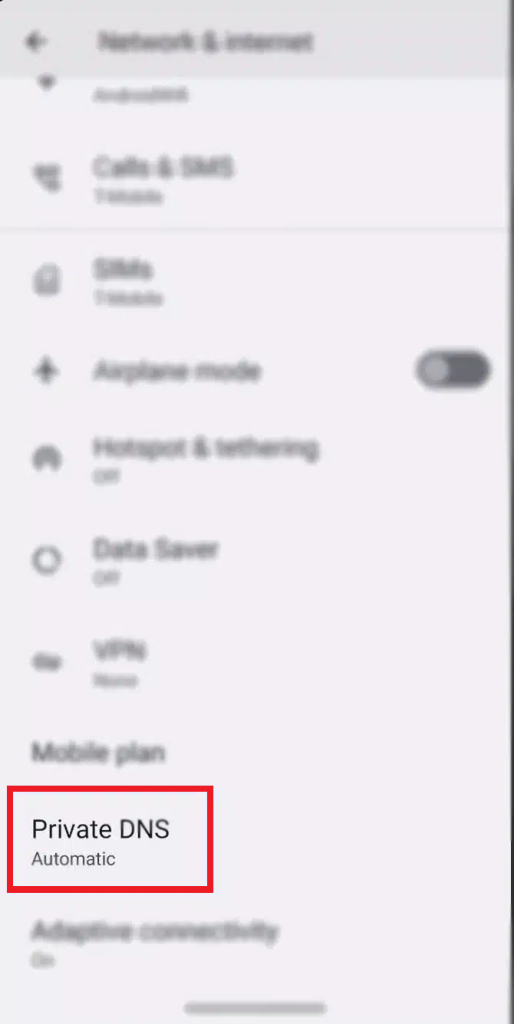
Android SmartDNS setup guide


Step 3

Make sure “Private DNS” is turned OFF (otherwise, it will override the DNS settings you are using).

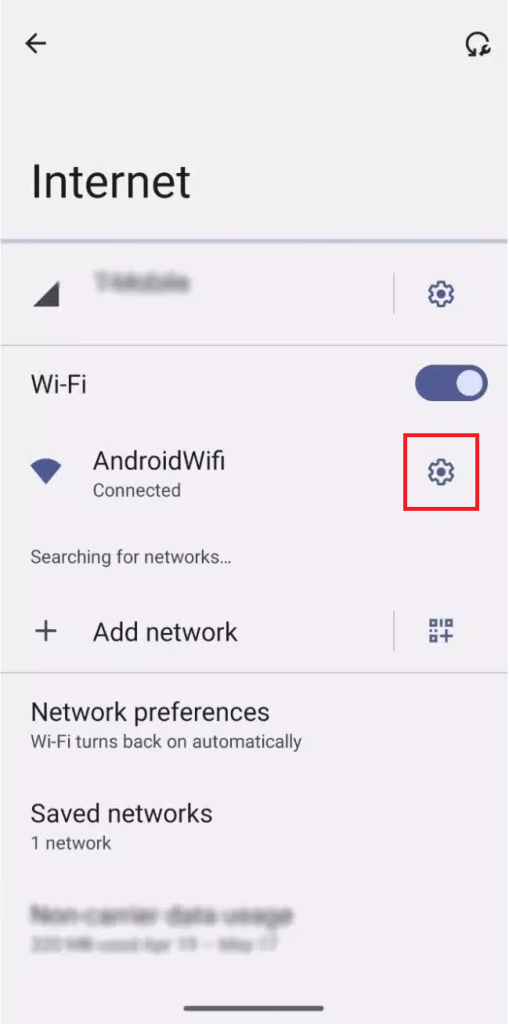
Now, scroll back up and tap on “Internet”. Click on the wheel next to the WiFi network you’re connected to.
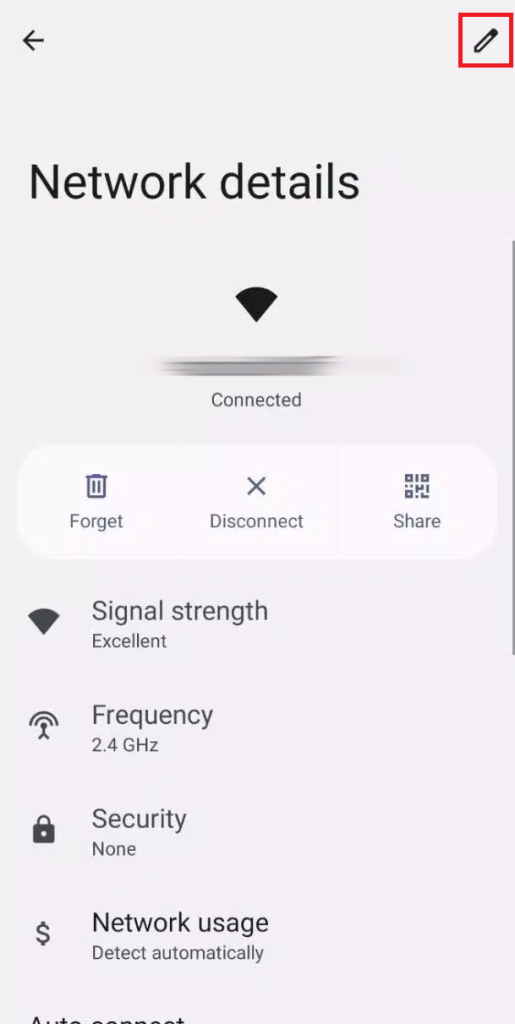
Android SmartDNS setup guide


Step 4

Tap the edit button you can find on the top right corner of your screen.

Android SmartDNS setup guide


Step 5

Select “Advanced options” and under “IP settings” choose “Static”.

You will need to enter the following:

a) Keep the IP address and Gateway as the default

b) Enter the IP addresses of our Smart DNS servers (you will find them under the Control Panel on our website) in the Preferred and Alternate DNS server fields respectively:
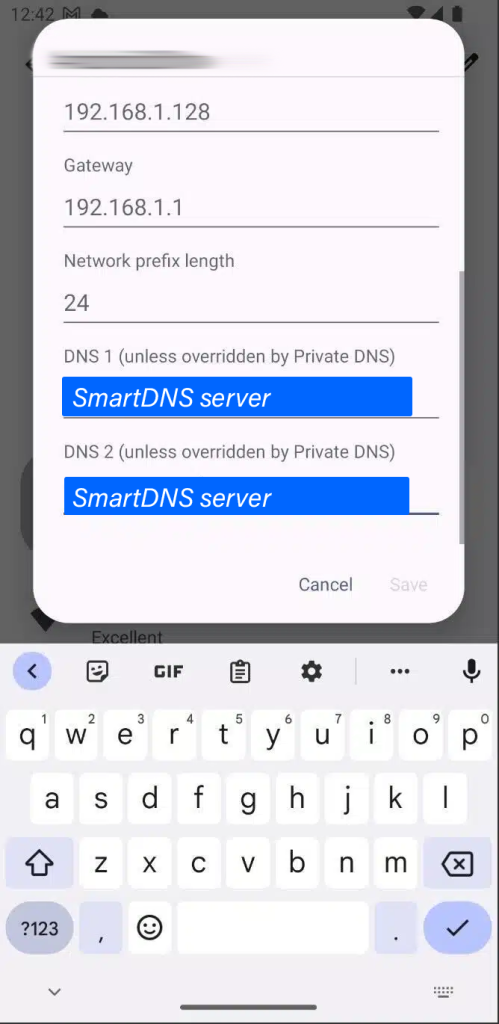
Android SmartDNS setup guide


Step 6

Finally, click the “Save” button to save your changes and restart your Android device.


You’re done! Here you will find what sites and media channels are unlocked via SmartDNS.

CONTACT US

Have Any Questions?

Professional technical and sales support. We are here 24/7.
Open a ticket or contact us via Live Chat and get instant support.

SmartDNS help

Don’t have an account?

Sign up with the button below to get one day Free Trial account