Step 1
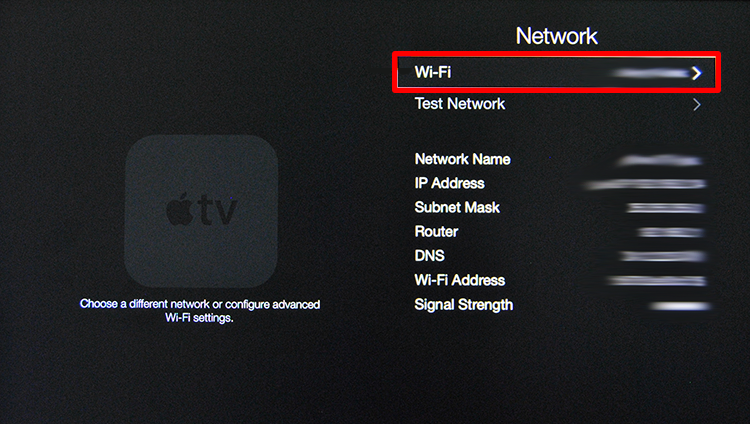
Go the “Settings” on your Apple TV. Next, go to “General” and click on “Network”.
Step 2
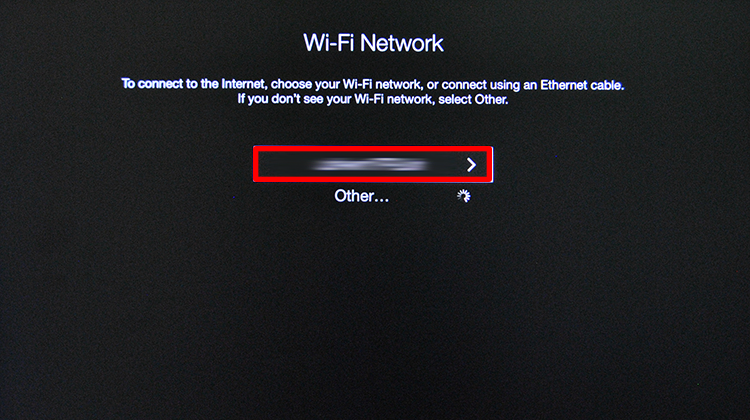
Choose a “Wi-Fi” network or “Ethernet” if you have a cable connection. For a wireless network, select your Wi-Fi network.
Step 3
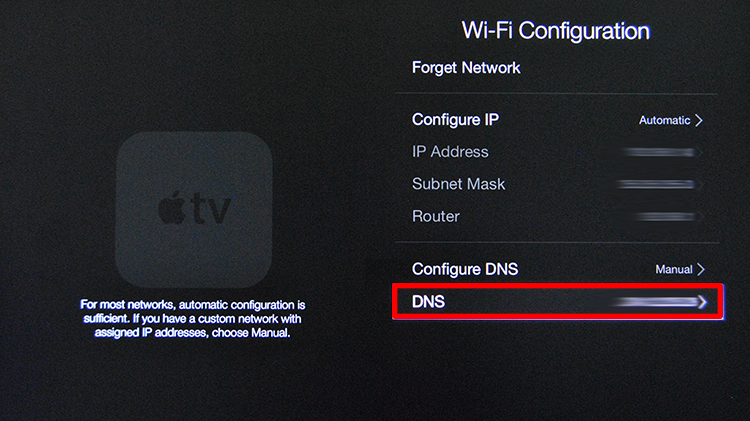
Go to “Configure DNS” and change to “Manual”.

Step 4
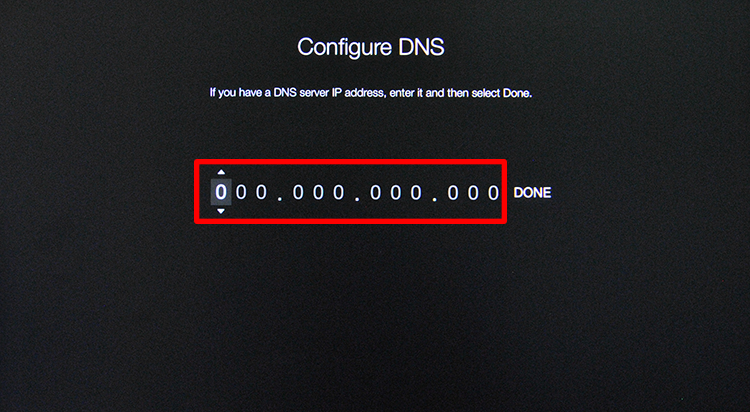
Enter Smart DNS server IP’s (you will find them under the Control Panel on our website) and click “Done“.
Step 5
Confirm on the “WiFi-Configuration” screen that the Smart DNS addresses are the numbers you entered.
Step 6
Now, go to “Settings”, click on “General” and choose Region Format.

Step 7
Select the region format “United States” or “United Kingdom” (depending on your streaming preferences).
Step 8
Return to the main screen. Put the Apple TV to sleep with the Sleep Now command. Unplug the Apple TV power cord.
Wait 10 seconds and plug the Apple TV back in.
You’re done! Here you will find what sites and media channels are unlocked via SmartDNS.